

Pi-hole, one of my personal favorite open-source DNS servers comes along with features such as a DNS sinkhole that helps protect your network from malicious advertising and trackers. There are a couple of alternatives but thus far Pi-Hole has been my go-to DNS server for my self-hosted network. I run my Pi-Hole DNS server in a Docker container on one of my Raspberry Pi Docker Hosts but you can install it on x86 and other arm64 systems as well. In this tutorial, I am going to set up Pi-Hole DNS with Docker.
Pi-Hole Config and Docker Setup
The first step is to copy the docker-compose file below to your destination Docker host and run docker pull pihole/pihole:latest to pull the latest Pihole docker image. The docker-compose config below sets your local DNS connection to 127.0.0.1 that refers to the localhost and your upstream DNS server to 1.1.1.1 which is Cloudflare's upstream DNS server. You can go ahead and use other upstream DNS servers such as Google's which is 8.8.8.8 but Cloudflare is my personal favorite.
version: "3"

services:
  pihole:
    container_name: pihole
    image: pihole/pihole:latest
    ports:
      - "53:53/tcp"
      - "53:53/udp"
      #- "67:67/udp"  # Required only for using Pi-hole as a DHCP server
      - "80:80/tcp" #pihole admin dashboard
    environment:
      TZ: "" #add timezone here
      WEBPASSWORD: "password" #update your preferred password here
    volumes:
      - "./etc-pihole:/etc/pihole"
      - "./etc-dnsmasq.d:/etc/dnsmasq.d"
    dns:
      - 127.0.0.1
      - 1.1.1.1
    cap_add:
      - NET_ADMIN
    restart: always
Once you pull the latest Pi-Hole image you have to ensure that your network interface config is configured correctly. Run the following command for Ubuntu Linux sudo nano /etc/netplan/50-cloud-init.yml and update the DNS section to 127.0.0.1 and save the net config file and run sudo netplan apply. Once your network interface config is updated run the following commands to stop and disable resolve.d:
sudo systemctl stop systemd-resolved.service
sudo systemctl disable systemd-resolved.service
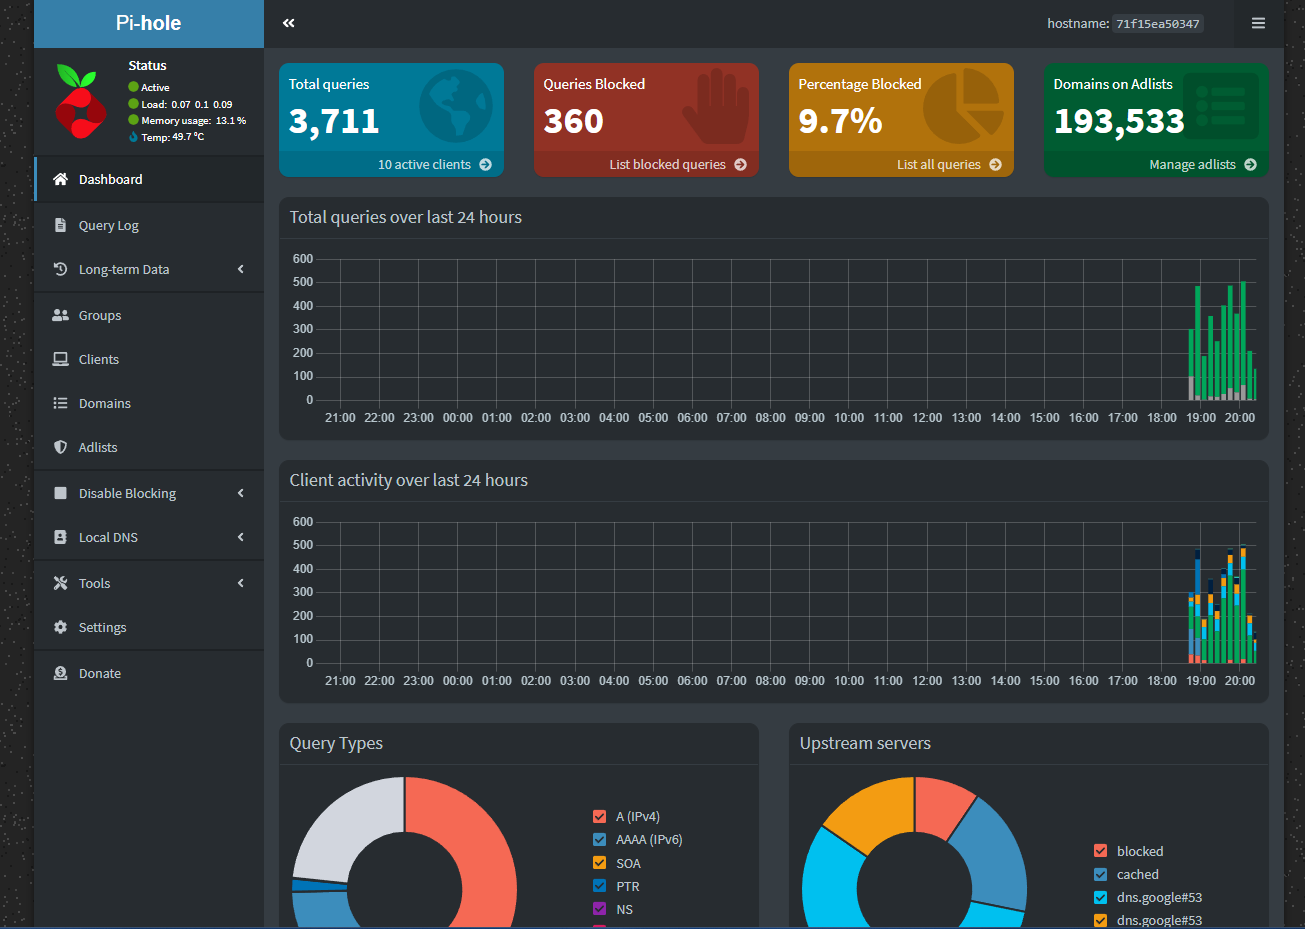
Once done executing the above commands go ahead and run docker-compose up -d in the directory where your Pi-Hole docker-compose file is stored which will deploy your Pi-Hole DNS server. Open your browser and navigate to http://your_ip/admin and you should be able to login to the Pi-Hole web ui like in the examples below. The web UI can be utilized to add blocklists, set up local DNS records, whitelist domains, and much more.

Conclusion
In conclusion, Pi-Hole is a very good free and open-source DNS server that can be used in home networks as well as business environments. If you enjoyed this article consider signing up for our newsletter and don't forget to share it with people that would find it useful. Leave a comment below with a tutorial you would like us to cover.