

According to the 2023 Stackoverflow Developer Survey PostgreSQL is the most loved relational and overall DBMS by developers. It has rich features that we are going to explore more in-depth with an article and discussion. Let's jump into this tutorial and set up PostgreSQL and PGAdmin with Docker:
1. Docker Compose Script And Deployment
Our initial steps are to create the docker-compose.yml file on our remote docker host where are going to deploy our containers. Copy the docker-compose script below to docker-compose.yml.
version: '3.8'
services:
  db:
    container_name: postgresql
    image: postgres:latest
    restart: always
    volumes:
      - /docker/postgresql/postgresdata:/var/lib/postgresql/data
    environment:
      POSTGRES_USER: root
      POSTGRES_PASSWORD: choose_password
      POSTGRES_DB: postgres-db
    ports:
      - "5432:5432"
  pgadmin:
    container_name: pgadmin
    image: dpage/pgadmin4
    restart: always
    environment:
      PGADMIN_DEFAULT_EMAIL: [email protected]
      PGADMIN_DEFAULT_PASSWORD: choose_password
    ports:
      - "5050:80"
Once done run docker-compose up -d to deploy the two docker containers and run docker ps once deployment completes confirm that the PostgreSQL and PGAdmin containers are running.
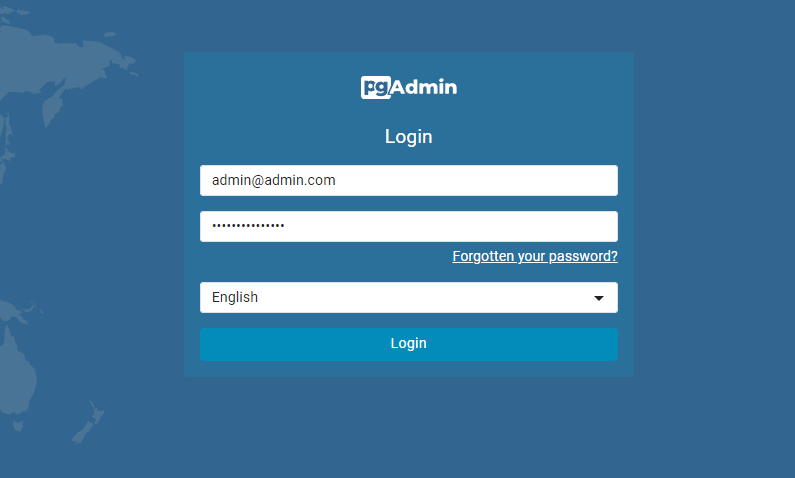
2. Login To PGAdmin Web UI
Once confirmed that both containers are running navigate to http://<docker_host_ip>:5050 and login to the PGAdmin web UI with the PostgreSQL user created above.
Once logged in you have the option to add PostgreSQL servers, and administer and maintain them. Create and delete databases and much more.
Conclusion
In conclusion, as mentioned above PostgreSQL is the most admired Relational and overall database management system. It is also a very good feature-rich alternative to MySQL. If you enjoyed this article consider signing up for our newsletter and don't forget to share it with people who would find it useful. Leave a comment below with a tutorial you would like us to cover.