

Ever since switching Opensource Geeks from WordPress to Ghost CMS my blogging experience with this Opensource blogging software has been off the charts. What is Ghost Blog CMS? Ghost Blog CMS is a JavaScript-based, open-source blogging platform that is free to use and provided under the MIT License. It was created to make it easier for individual bloggers and web publishers to write blog articles and publish their blog content online. Let's jump in and set up Ghost Blog CMS with docker.
Ghost Blog Platform Docker Config And Setup
The first step is to script the Docker Compose yaml file and copy it to the docker host where Ghost Blog platform will be hosted. Copy the docker-compose yaml file below to your docker host:
docker-compose.yml
version: '3.3'

services:
  database:
    image: mysql:8-oracle
    container_name: ghost-mysql
    command:
      - "--default-authentication-plugin=mysql_native_password"
      - "--max_allowed_packet=32505856"
    restart: always
    volumes:
      - /docker/ghostblog/sqldata:/var/lib/mysql
    environment:
      MYSQL_ROOT_PASSWORD: # mysql root password here
      MYSQL_DATABASE: # database name here
      MYSQL_USER: # mysql username here
      MYSQL_PASSWORD: # msyql password here

  blog:
    image: ghost:latest
    container_name: ghost
    restart: always
    ports:
      - 9200:2368
    volumes:
      - /docker/ghostblog/ghostdata:/var/lib/ghost/content
      - /docker/ghostblog/ghost-config/config.production.json:/var/lib/ghost/config.production.json
    environment:
      # see https://ghost.org/docs/config/#configuration-options
      database__client: mysql
      database__connection__host: database
      database__connection__user: # mysql username here
      database__connection__password: # msyql password here
      database__connection__database: # database name here
      url: # url here https://example.com
      NODE_ENV: production
    depends_on:
      - database
If you are going to make use of an email SMTP service like Sendgrid for example or you can even use Gmail's SMTP service by creating an Application password. This step is optional but if you want to invite more members such as editors, authors/bloggers, or staff to your blog platform you will need to utilize this configuration. Copy the .json config below to your persistent volume in your docker config and edit it with your configuration before deploying your Ghost Blog containers.
production.json
{
    "url": "http://localhost:2368",
    "server": {
      "port": 2368,
      "host": "::"
    },
    "database": {
      "client": "sqlite3",
      "connection": {
        "filename": "/var/lib/ghost/content/data/ghost.db"
      }
    },
    "mail": {
      "transport": "SMTP",
      "options": {
          "service": "Gmail",
          "auth": {
              "user": "username", # add app username here
              "pass": "password" # add app password here
          }
      }
    },
    "logging": {
      "transports": [
        "file",
        "stdout"
      ]
    },
    "process": "systemd",
    "paths": {
      "contentPath": "/var/lib/ghost/content"
    }
  }
Once all the configurations and scripts are correct and copied to the docker host, the docker containers can be deployed by running docker-compose up -d from the CLI inside the directory where your docker-compose.yml file is stored. Run docker ps to see if your Ghost Blog containers are running:

Ghost Blog Web UI Admin Panel
Once your containers are deployed and running navigate to the Ghost Admin panel url in your browser which would take you to the page below to set up your new blog site.

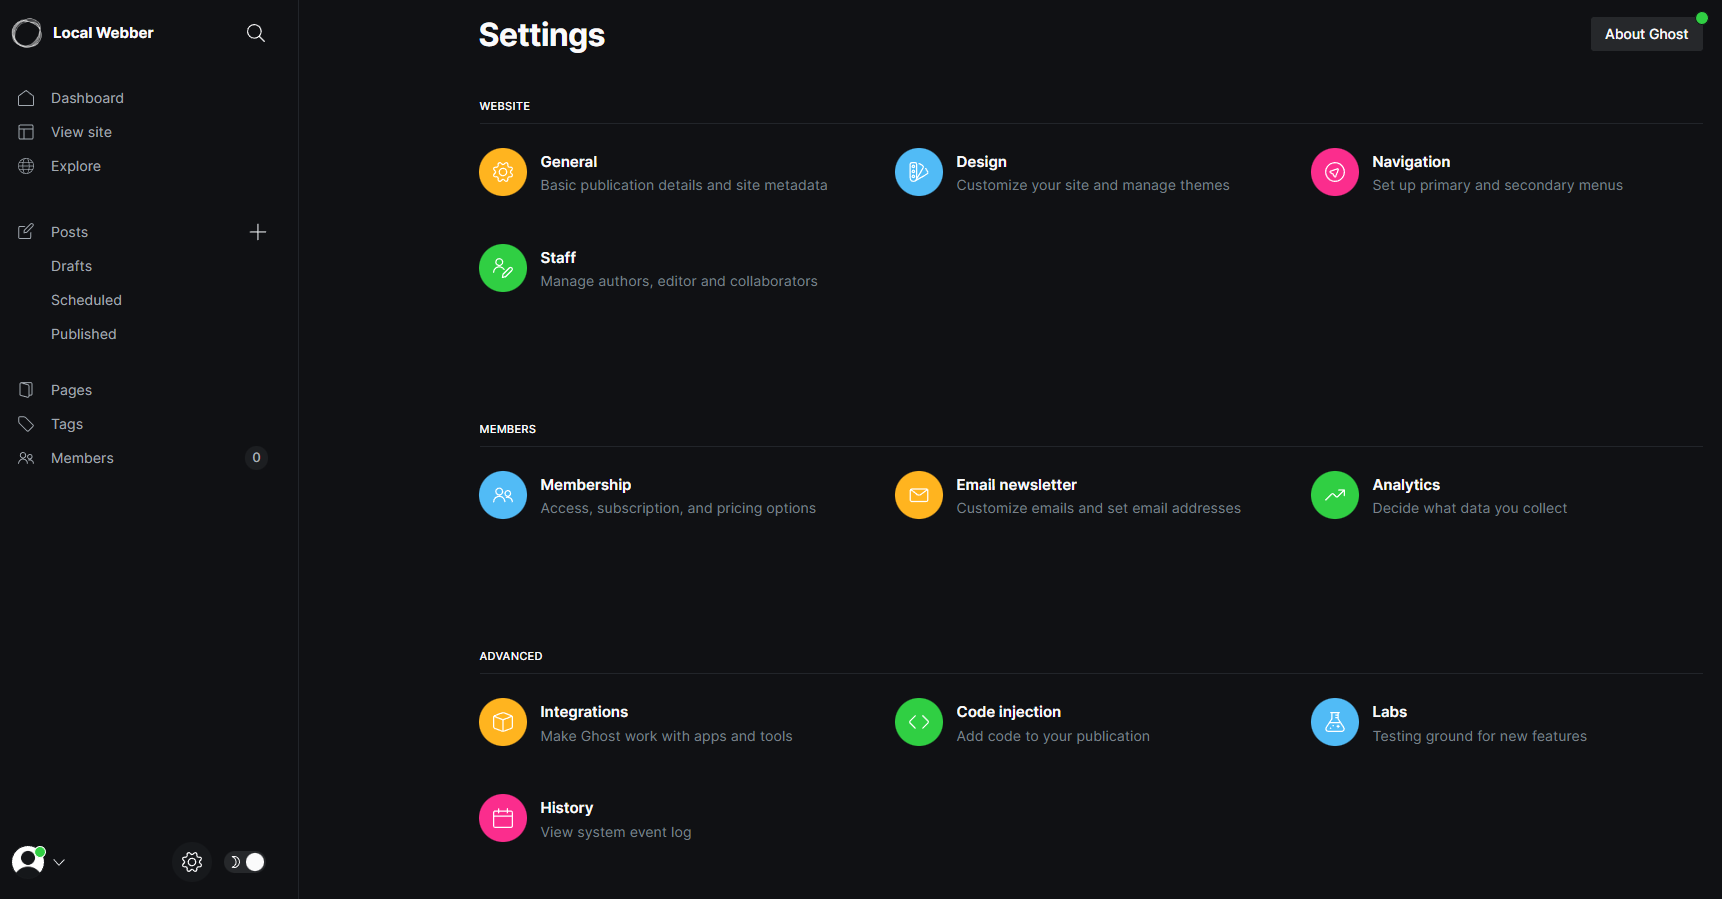
After filling in your details to create your blog site you will be redirected to the login page where you can log in to the admin dashboard like the example below and start inviting staff members to work with you and many more configurations such as newsletter setup and much more. If you want to perform even more custom configurations you are welcome to have a look at the Ghost CMS GitHub repository or the official website.
Conclusion
In conclusion, Ghost Blog Platform has made my blogging experience very joyful and comes with many benefits such as built-in SEO features and much more. If you enjoyed this article consider signing up for our newsletter and don't forget to share it with people that would find it useful. Leave a comment below with a tutorial you would like us to cover.