

At this point, most developers are used to or used Docker in some form or way before in their dev journey. What can improve your work efficiency even more is running dev containers to build and test your applications instead of your local machine. In this tutorial, I am going to walk you through how to build and set up your own custom dev container for all your Dev and DevOps work on a remote docker host and use the docker container via SSH connection.
1. Create And Define Dockerfile To Build Dev Container
Our first step is to create your directory and open up the directory in VSCode. Create Dockerfile and copy the contents below with a variety of different packages and tools for your Dev Container. Feel free to modify it as it fits your work requirements but for the sake of this tutorial, we are going with this simple Docker container build.
FROM ubuntu:latest

# Set default directories
WORKDIR /dev

# Install dev tools
RUN apt-get update && apt-get install -y \
    npm \
    golang \
    python3

# SSH setup and config
RUN apt-get update && apt-get install -y openssh-server
RUN mkdir /var/run/sshd
RUN echo 'root:sshpass' | chpasswd
RUN sed -i 's/#PermitRootLogin prohibit-password/PermitRootLogin yes/' /etc/ssh/sshd_config

EXPOSE 22
EXPOSE 9455

CMD ["/usr/sbin/sshd", "-D"]
2. Build And Deploy Dev Container On Remote Docker Host
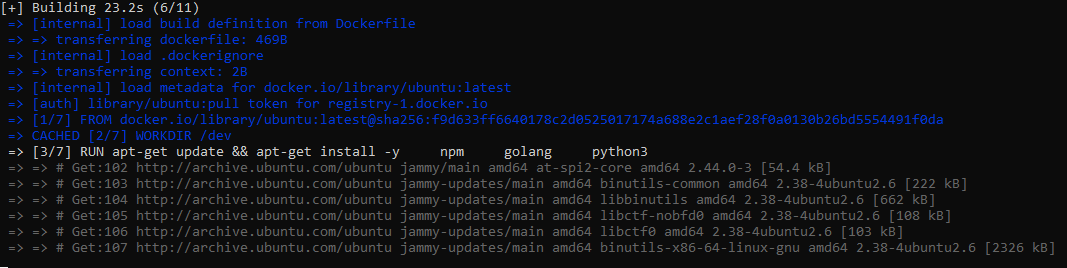
Connect to your Docker Host and create a directory where you store your Docker or Docker Compose files and call it devcontainer. Navigate to the directory and create a file and call it Dockerfile inside your devcontainer directory. Assuming you have Docker installed we are going to run the following command to build our Dev Container:
docker build -t devcontainer:latest .
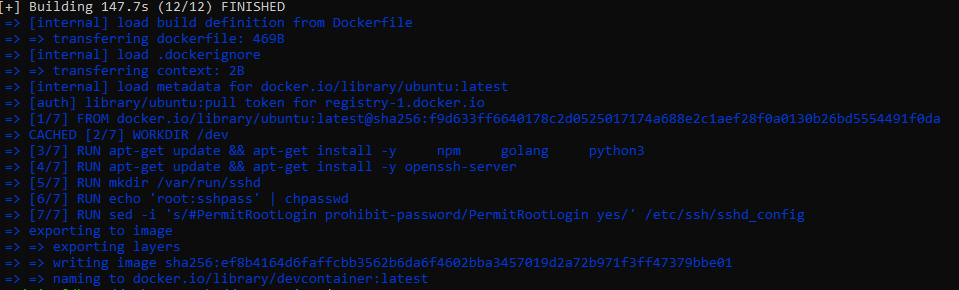
You should see the build output similar to these images below in your terminal:
Once the build completes we are going to deploy our Dev Container. You can name your dev container as you please next to the --name flag but for the purpose of this tutorial we are just going to call it devcontainer. Let's run the following command to deploy our Dev Container:
docker run -d --name mydevcontainer -p 2222:22 -p 9455:9455 devcontainer:latest
Tip! Remember to expose a couple of ports for all your dev projects in order to test endpoints or web applications in your browser. In the example above I am going to use port 9455
After running the above command we want to check if our Dev Container is running by either using Portainer if it is set up within your dev environments or by running the command below:
docker ps | grep devcontainer
You should see an output similar to this:
889f4abf4235 devcontainer:latest "/usr/sbin/sshd -D" 18 seconds ago Up 17 seconds 0.0.0.0:2222->22/tcp, :::2222->22/tcp mydevcontainer
3. Test SSH Connection To Dev Container
To test if we can connect to our dev container over SSH we will run the command below and keep in mind that we mapped port 22 to port 2222 and we will have to use the mapped port.
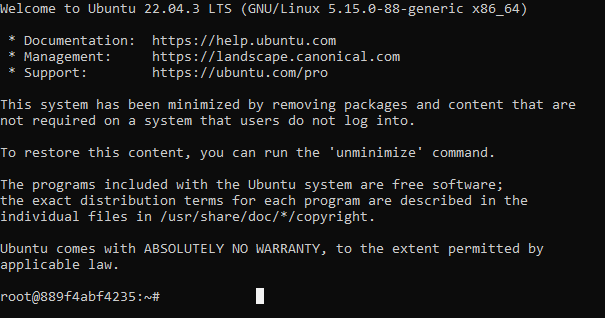
ssh [email protected] -p 2222
You will be prompted for the password that you set in your Dockerfile in this specific line RUN echo 'root:sshpass' | chpasswd and in this instance the password is sshpass. You should now see that we have established an SSH connection to our Dev Container shell like in the example below root@{container_id}:
4. Create SSH Connection To Remote Docker Container In VSCode
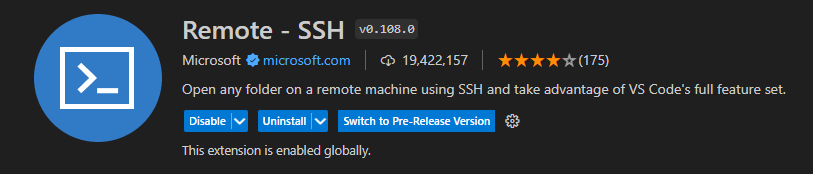
Once our devcontainer is deployed and confirmed that it's running, we are going to set up an SSH connection in VSCode to our devcontainer. Open a new VSCode window and navigate to extensions to confirm that you have the Remote -SSH extension installed.
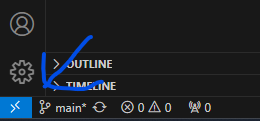
Next click the blue box to open the SSH options and select Connect To Host.
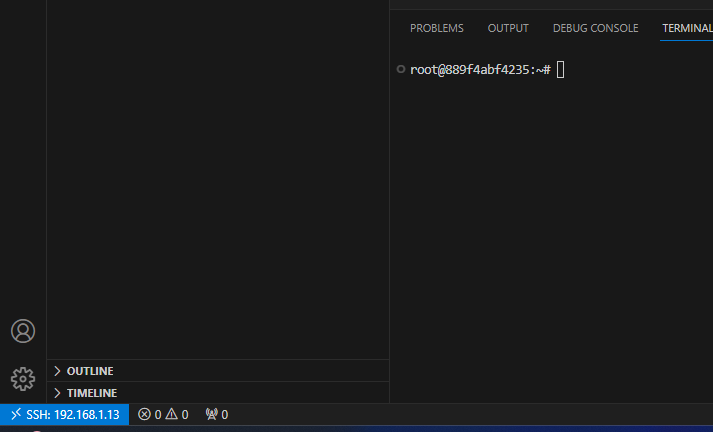
Follow the prompts to create your SSH connection config and once the config is set up you should be able to open a new window with an SSH terminal to your Dev Container like in the example below:
5. Create And Test A Dev Project With Dev Container Connection
Follow the below tutorial to copy an example NodeJS and TypeScript project or you can clone a Git repo and open it. For the sake of this tutorial, I am just going to follow the steps in the example NodeJS and TypeScript project in the bookmark below.
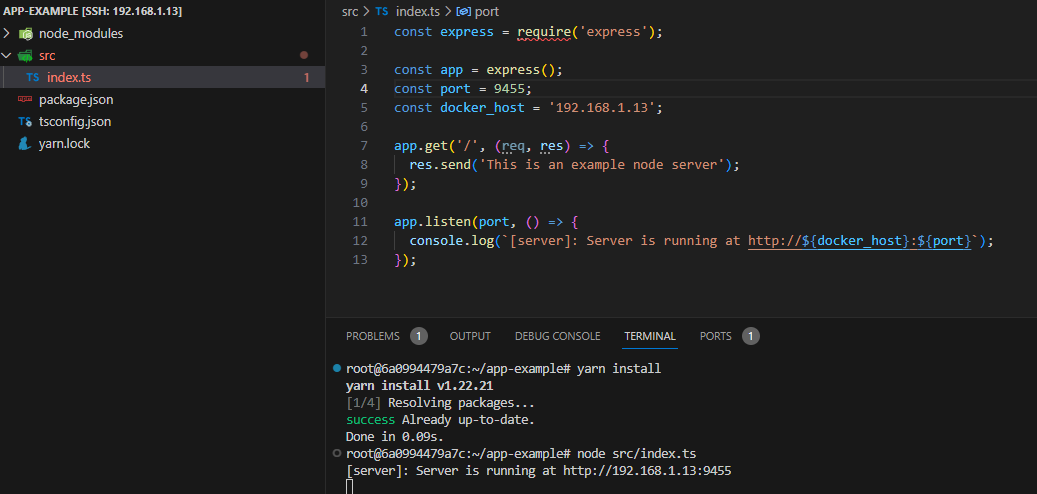
Install all the packages and run node src/index.ts to start your NodeJS application. You should see an output like the output below:
If we go to the address in the browser you should see the same output as below:

Conclusion
In conclusion, there are many variations of configs that you can use for your dev environment and in this instance your dev container. Explore different configs and share them with me on Twitter/X. If you enjoyed this article consider signing up for our newsletter and don't forget to share it with people who would find it useful. Leave a comment below with a tutorial you would like us to cover.